2. Getting started
Once you have installed qStopMotion you can start it by typing qstopmotion in a console or from menues:
- In the Fedora menues you can qStopMotion it by going to ->Multimedia->qStopMotion
- In the Debian menues qStopMotion lies under ->->
- In the Windows menues qStopMotion lies under ->->
When the program is started you will se the following:
Figure 2.1 qStopMotion at startup
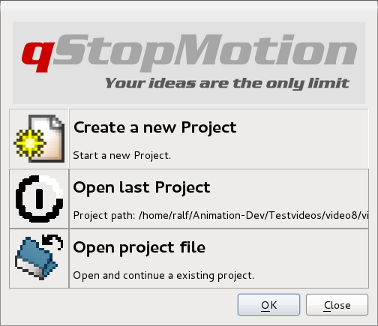
Now you have three possibilities of starting the using of qStopMotion:
- Start with a new animation project.
- Open the last used animation project. This possibility lacks at the first start of qStopMotion.
- Open an existing Project on the hard disk.
If you select the new project possibility then the following dialog will open:
Figure 2.2 New project dialog
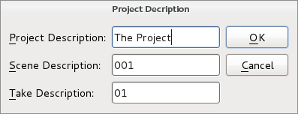
You can change the description for the animation project, the first scene of the project and the first take of the scene.
An animation project is organized in qStopMotion in the following way:
Figure 2.3 Animation project overview
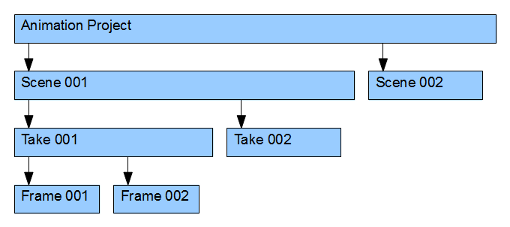
The animation project is the head of the structure. Each animation is segmented in scenes and each scene is segmented in takes. The take contain the single frames.
When the program is started you will se the following:
Figure 2.4 qStopMotion user interface
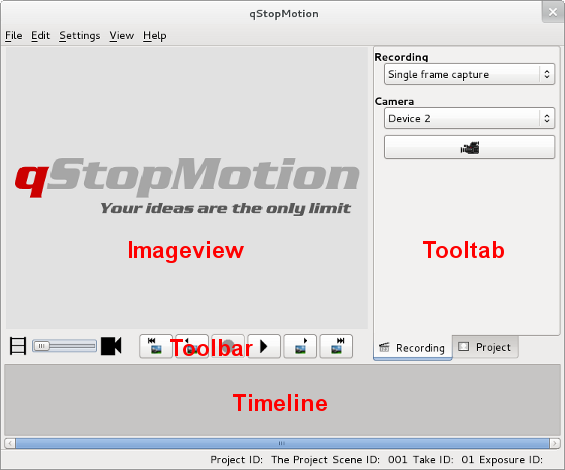
At the bottom you have the Timeline where you will see all the pictures in the animation.
The center area is the Imageview where you will get a closer look at your pictures, see the webcamera and preview your animation. At the bottom of the Imageview you have the Toolbar to navigate in the Timeline, take pictures and play the animation.
The right area are the Tooltabs. To switch between the different Tooltabs use the flags at the bottom of the Tooltabs.
qStopMotion starts with the selected Recording Tooltab.
Figure 2.5 The Recording Tooltab
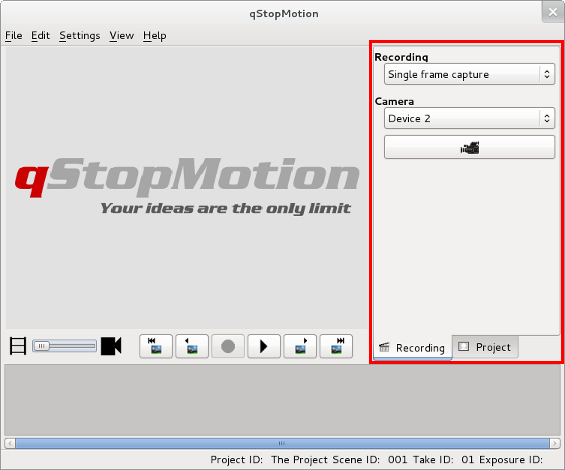
On the top of this tooltab you can select the recording method. All connected video devices contain the next listbox. At first you have to select one of these video devices. Now you can also start the video device with the camera button ![]() .
.
The second Tooltab is the Project Tooltab.
Figure 2.6 The Project Tooltab
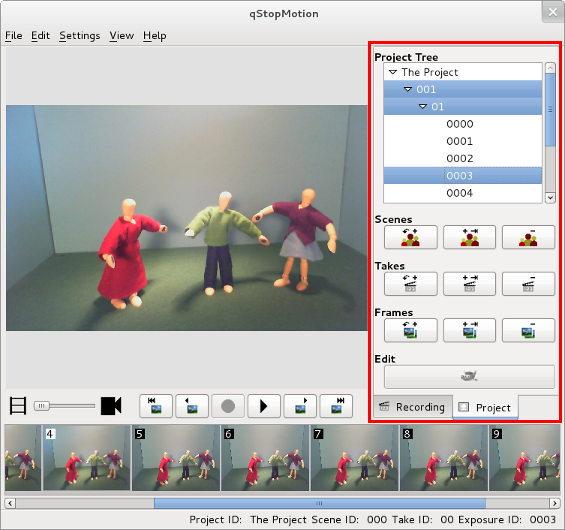
On the top of this tooltab you have the project tree containing all scenes, takes and frames of your animation. Then you can see a line of buttons for inserting new scenes ![]() , adding new scenes
, adding new scenes ![]() as well as deleting scenes
as well as deleting scenes ![]() . The following line of buttons is for inserting new takes
. The following line of buttons is for inserting new takes ![]() , adding new takes
, adding new takes ![]() as well as deleting takes
as well as deleting takes ![]() . With the buttons in the last line you can insert
. With the buttons in the last line you can insert ![]() or add
pictures from the harddrive
or add
pictures from the harddrive ![]() as well as delete frames and scenes
as well as delete frames and scenes ![]() .
.
Go back and select the recording tooltab. Now you can also start the video device with the camera button ![]() .
.
Figure 2.7 Capture frames
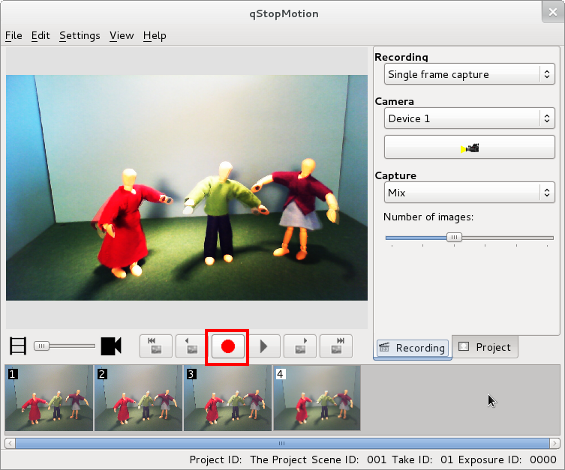
By pressing the capture button (![]() ) on the toolbar you will take a frame from the video stream displayed on the image view. If you have taken some frames of your first animation, switch the camera off with the
) on the toolbar you will take a frame from the video stream displayed on the image view. If you have taken some frames of your first animation, switch the camera off with the ![]() button.
button.
Now save the animation project to the hard disk using the save entry in the file menu. This will open the following dialog.
Figure 2.8 Save new project
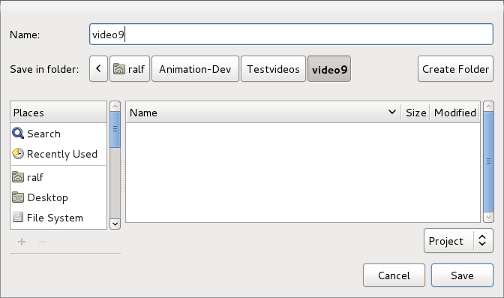
Navigate to an empty directory for your animation projects and create a new folder for the new project. Move to the new folder and type in the name for the project file. Then press the save button.